Showing posts with label tutorial. Show all posts

Friday, August 23, 2013

Cyclopes and Hairy fingers PART 2

 And to the Cyclops...     (Click on the pics for a larger view)
Last blog I showed face repaint /sculpt and hair
Tonight costuming and tats and weapons
Cyclopes were never really known for having the most shiny pristine armor or clothing.I wanted to go with a home-made looking armor 
For her costuming I struggled with the colors for this because I loved her hair color so much I didn't want to take away from that.So I went with a Sky blue and cream theme.
I started by making the armor out of polymer. I keep an extra body around..( oh that was funny to type)
to size clothes and bake the armor on.
With that tiny torso and wide hips ,Monster Highs are a little tricky to clothe.
I wrapped white polymer around ( not all the way) and cut tiny pieces of tan polymer to create stitching.
To seal on the stitching I used Liquid Sculpty .. and bake.I do a few bakes at a lower temp to not lose the original color..Sculpty will darken if baked too long or hot.. Hate THAT!
Skirt and sleeve of a linen type Sky Blue material
One day I'll actually write down the pattern for some of the clothes I make ,I either eyeball it or wrap fabric around the doll to size
costume almost finished with a tiny hole in the naval for her belly button ring.
I thought about being a Cyclopes and thought 'If I came from a tribe or race of being with only one eye, They would be Obsessed with eyes!... Kinda how I obsess about cheesecake and fitting rooms with good lighting.......meh.". for the shield I found a great medallion at the craft store,attached a handle and painted the center  stone and eye.
 Cyclopes were builders and Blacksmiths, she needed a hammer!
Box made of Popsicle sticks with bracing on the inside
Sanded down smooth with handle added 

Base painting and furry grip and elastic loop sewed on

Painted silver with tribal added on all sides
I couldn't believe how STRONG this hammer was when I was done I was tempted to run around and hit bugs with it!
Hand painted tribal all around the mohawk
and the Finish ,when I was done she had a little bit of Rock Star going on, Aww yeah!  :)


Thank you for reading this far .. and Good Night!

Tuesday, August 6, 2013

Pixies,ghosts and Shoes

OK. so back to this...
IN my last blog I wrote about how I'm working on a Will-o-wisp....here's my take on it again
IN the last blog I showed how I did the hair and now we're onto the face.
Using dark and light turquoise I contoured the face.
what I wanted to do was and ornate feathery almost headband at the hair line which would allow me to use some glow-in-the-dark paint and have it cascade up into the hair.. so I started with this
the G-I-T-D paint I was using was textured as to why it's lumpy
ANd all I kept thinking was 'THis Looks Kyptonian'.. I HATED it,grabbed some acetone and with much effort cleaned off her whole forehead and started again.
I'll come back to her face in a minute.
Lets talk about doll feet!!
MOst doll feet are in a high heel shape and what I was going for was a ballerina foot... something graceful....so I had to do the unthinkable...I Cut off her toes!!
Cut off toes with several layers of glue on top
I found this great Glow-in-the-dark polymer and sculpted right over the glue.
Sculpted ballet shoe from polymer
I also noticed if you rub glitter on the polymer the glitter lays flat and creates a sparkly sheen!
I then coiled ribbons of the polymer to create an abstract lacing and adhered that to the leg with liquid sculpty... NOW heres' the trick.. HOw am I going to BAKE that ? You're wondering right now..
Well you don't... BIG SECRET RIGHT HERE-----> you prop up a blow dryer on high and aim it on the direction of what you want to get heated.. Yep,I'm dead serious.......you have to check it often,make sure everything is safe and not obstructing the blow dryer.. after about 10 mins turn off the blow dryer and let cool down and then do it again .. do this at least 3 times
The dress...
I took pieces of tule and air brushed a gradient blue 
I sewed the top on first and then added all the bottom strips separately
I sewed iridescent beads and made some Glow-in-the-dark beads too....I wanted the glowy orbs to surround her
 Super easy,roll little balls make holes and bake

... OH yeah that face again
I did an extreme smokey eye. The eye itself I painted a normal eye very lightly and then did washes of white and Glow-in-the-dark paint over to give a ghostly effect... not really creepy...for me a Will-o-wisp is both paranormal and fairy like so I wanted the face to be a mesh of both.
I added the tiniest rhinestones 
I made her orb out of the same Glow in the Dark clay for her to hold...between all the Glow-in-the-dark  stuff and the glitter my studio looked like Chuck Norris put a Whoopin on some fairies!
But in the end I think I can pretty close to the drawing.....yep the one on the top of this page
THis glows really bright in person


I'm still in the process of taking pics. Amazing and serendipitous. I had her finished the exact day of the person who it's for Birthday and I didn't even know!
Thank you for reading,Have a Glowy evening :)


Wednesday, July 31, 2013

Pixies and Ghosts, Oh My!!

New assignment.........WILL-O-WISP


Also referred to as 'Orbs' 'Ghost-lights' 'spook-lights'
They are looked at by both paranormal and fairy/folklore enthusiasts
These are the balls of light seen in the forest at night.
They are also said to be see in old photographs and are thought by some as spirits of visiting deceased relatives caught on film ( though scientists and disbelievers say they are merely particles of dust captured close up on the lens) 
I neither disbelieve or believe . Who's to say they don't exist....but who's to say they do..
they actually go on to say there is a scientific explanation for this occurrence.. so A-HA!! it does really happen and people have seen it!


photo credit Missouri ghosts.net


SO thats pretty much the paranormal side of it but what about the fairy side??

nothing says validation like Disney lol!

I found this and it looked really similar to the sketch I had come up with for this project

THis is my take on it... yes , this will become a doll... I will make it Happen!!...ok I hope it happens.... No! I will happen!!
OK SOo..
My client asked for a green doll ,normally she doesn't get specific but she said green
but I'm thinking not too green
SO I picked Frankie Stein
First I had to get rid of all that black hair
Frankie with only white hair

I rooted Mint Green longer strands
I started to make the blue gradient
I do this with several permanent markers.
Finished color

Normally I wash the hair to get most of the ink out ,but not this time
here's my video on how to do this


There will be more tomorrow this blog is getting long
but 
speaking of Pixies and ghost lights
Here is my little Pixie
 THanks for reading
Nighty


Monday, July 22, 2013

Mistakes... I've made a few Part 2

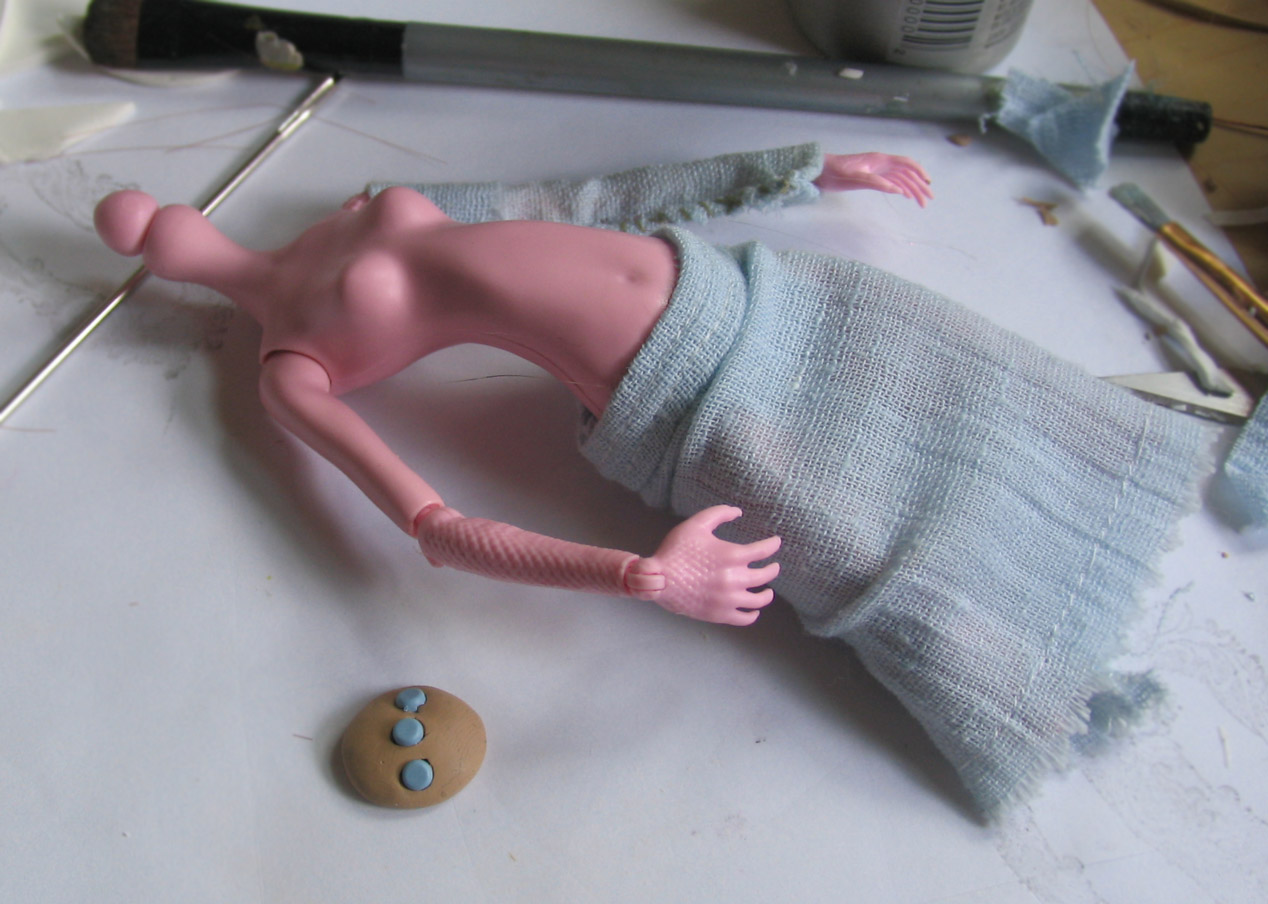
Note:in the lower portion of this page contains doll nudity....if you are easily offended by Doll nudity please don't venture further...

That sounded very silly.
 Now back to this....in my last blog I said I made mistakes...first mistake was
buying a wig that I thought would be perrrfect.....but
once I had it on her it looked so big and puffy
you know too Jersey Shore.
It was not going to work. So I was going to have to make a wig or reroot.
Rerooting is tedious! OMg.. so tedious!
But if you've ever worked on one of the Cam kit Monster highs you know
it could only be a partial reroot because the top of the head is a hard plastic.
SO... it's gonna have to be half reroot 
and half applied/glue.
But this way I could also add a few different shades of color.
 I started with painting the scalp.
(Most dolls have this,makes the hair look fuller)
Then the rooting and applying... it added a whole extra day to this doll
and it was I think 95 degrees that day and I was sitting under a 
Super bright light

but the results were favorable.
There are Great hair rooting tutorials on youtube
This one is from Mylittlecustoms <-----

.. And then I noticed THIS...
the paint on the legs was peeling and scraping off!!!!!!!!
UGH!... NOooooo.. make it stop!.. :(

I had used a layer of Mr. Super Clear for the base
But it wasn't working...
maybe it was the humidity?
I took a deep breath wiped the sweat off my brow
and said Lets do this again!!
this time I put a layer of Liquitex Matte Medium down
it's for non-porous surfaces to make to paint stick!

and BACK to the drawing board!
This also let me try a new technique I saw on Youtube
where you spray a light mist of water and then lay a coat of airbrush paint on top
while it's still wet.It creates the illusion of water droplets!

Meanwhile back in Modor
I had added more shading and Veins to the face and took her outside for another coat of sealer


At this point
I was pretty darn Happy with the results...
SEE, Never give up!


I wanted the legs to look murky,like she had been standing in water
for a  very Long period of time.

So what have we learned ..
  • Firstly have a plan 'B'...things might work fabulously in your head ...but in real life not so much.
  • Know your product . What works on one thing might not work on another...... So Mr. Super clear works great for the base on faces..but maybe not so much on plastics :/
  • Try again.. always try again!.........The second time might even come out better then the first!

I've never known of anyone who got congratulated for throwing 
in the towel.
And Here is the Finished piece ....Sigh of relief :)
And if you've read this far , I Thank You!

Tuesday, July 9, 2013

Little Friends

I Love to make very Picture-full blogs don't I.. well I hoping shrinking them down a bit might help with the Downloading of the page, I believe you click on the pics for larger view
I been slacking on the Bloggy,but really expect that to happen on occasion .
It happens...
ON to this I have several different types of dolls I do. ONe of the types comes with a pet or doll.
Somehow I feel it relieves the Main dolls loneliness and it's cute,a traveling companion if you will , a buddy <3.
I make these in a few different ways and sometimes come up with a way on the spot.
Basically I'm making a miniature doll in itself.
I try to reflect that the doll or pet come from the same world /style as each other.

HOw this Works--------first I Imagine what I want it to look like. I sculpt the head and arms/hands/legs/feet/paws out of polymer
Wolfy for the Orc girl
Sometimes I create and endoskeleton , a wire armature if I want the Friend to be highly posable
Inside Wolfy


For this one I started with a ball. Then I insert the wire loop
and work the clay around it making the neck

WOrkin it!
Ears
Blushing before baking


This is sort of the pattern I used ,I realized while making this blog that thats not the right pieces I actually used but you get the idea from looking at this.. I'm gonna say it's about 3"x 2" before sewing and stuffing... that reminds me how hungry I am... Mmmm Stuffing !

when I started stuffing. I used the entire 
length of stocking for leg. Sewed it through with a GIGANTIC needle and elastic,super tight
NOw this in-between stage I didn't document in photos .But next after baking I painted the scalp where I wanted the hair to go and layer by layer glued on the hair .Since the hair would be comb forward I started at the forehead and worked my way back adding the 2 little ponytails as I went along.
then painted the eyes but not as detailed as the Main doll.. she is just a character of the main after all...


"Voila!".... or "Here it is! " in english!


Photobucket