Showing posts with label custom. Show all posts

Friday, August 23, 2013

Cyclopes and Hairy fingers PART 2

 And to the Cyclops...     (Click on the pics for a larger view)
Last blog I showed face repaint /sculpt and hair
Tonight costuming and tats and weapons
Cyclopes were never really known for having the most shiny pristine armor or clothing.I wanted to go with a home-made looking armor 
For her costuming I struggled with the colors for this because I loved her hair color so much I didn't want to take away from that.So I went with a Sky blue and cream theme.
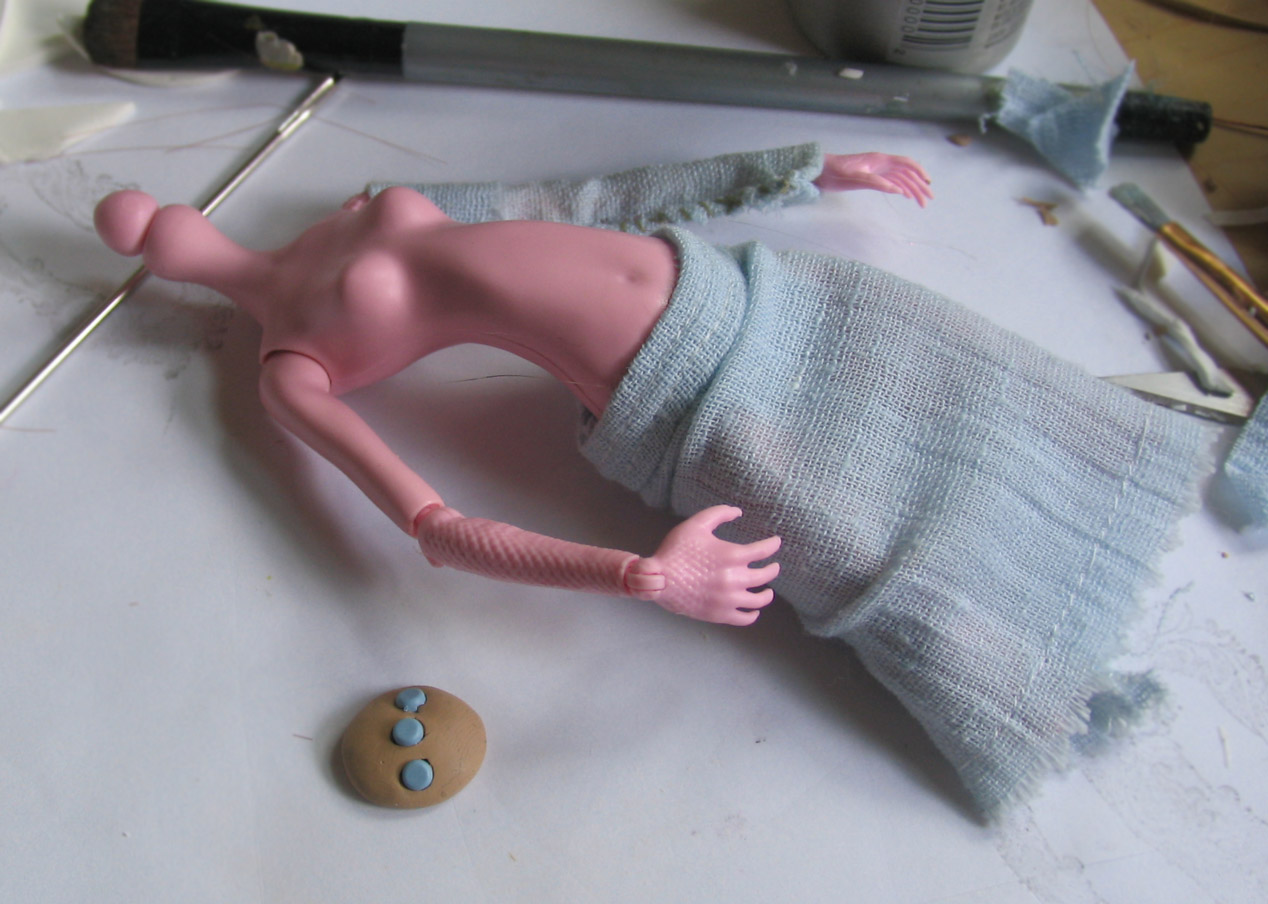
I started by making the armor out of polymer. I keep an extra body around..( oh that was funny to type)
to size clothes and bake the armor on.
With that tiny torso and wide hips ,Monster Highs are a little tricky to clothe.
I wrapped white polymer around ( not all the way) and cut tiny pieces of tan polymer to create stitching.
To seal on the stitching I used Liquid Sculpty .. and bake.I do a few bakes at a lower temp to not lose the original color..Sculpty will darken if baked too long or hot.. Hate THAT!
Skirt and sleeve of a linen type Sky Blue material
One day I'll actually write down the pattern for some of the clothes I make ,I either eyeball it or wrap fabric around the doll to size
costume almost finished with a tiny hole in the naval for her belly button ring.
I thought about being a Cyclopes and thought 'If I came from a tribe or race of being with only one eye, They would be Obsessed with eyes!... Kinda how I obsess about cheesecake and fitting rooms with good lighting.......meh.". for the shield I found a great medallion at the craft store,attached a handle and painted the center  stone and eye.
 Cyclopes were builders and Blacksmiths, she needed a hammer!
Box made of Popsicle sticks with bracing on the inside
Sanded down smooth with handle added 

Base painting and furry grip and elastic loop sewed on

Painted silver with tribal added on all sides
I couldn't believe how STRONG this hammer was when I was done I was tempted to run around and hit bugs with it!
Hand painted tribal all around the mohawk
and the Finish ,when I was done she had a little bit of Rock Star going on, Aww yeah!  :)


Thank you for reading this far .. and Good Night!

Wednesday, August 21, 2013

Cyclopes and Hairy fingers PART 1

Yeay New Boggy!

The Mission = Cyclops 

The briefing = A Cyclops is from greek mythology. They are a race of Giants with a single eye in the center of their forehead. Most depictions in the movies are of Cyclopes being vicious and of mal-intent  but upon further reading they were just builders.. :P.. nothing fancy,... Staten Island would Love them!
Also they created the staffs and weapons of the gods.... Poseidon's Trident and so forth. End of briefing
 Lots of other doll customizers have done Cyclopes and have done Great jobs but I'm gonna put my own spin on it....as usual
SO it was suggested to me to use the blank face from the Monster High 'create a monster lab add-on'
and it works well because there are NO eye sockets... but guess what.. THere ARE NO EYE SOCKETS!!....
Blank face, no eyes or mouth
so I'm going to have to create them...urgh!
 You do what you know, so I use acrylic the kind of acrylic you use at the nail salon. it's tricky to use but dries (as some may know already) ROCK hard and sticks almost better then crazy glue to the rubber.
First and always I give her a coat of Mr. Super Clear.
THen I have to map out where all my crazy is going.
Once it's laid down I sculpted and worked with a nail filer and Dremel ( electric rotary file)
 The paint and the shading are going to take it from there.
beginnings of the eye
I also thought I really have to make this a good eye, poor thing only has one.
Before glazing and faux eyelashes
THe hair!! if you've worked with these Cam pack heads you know part of the head is hard plastic,but the rest can be rooted. I really wanted a Mohawk to center everything.
I used Tacky Glue for the center and applied it in a circle pattern and rooted the long pieces.
If my fingers weren't hairy yet they were about to be!
normally I embedded the eyelashes ...couldn't really do that this time because like I said the acrylic dries, rock hard. I applied the faux lashes ( some individually) I'm pretty sure I went to the store that day with some hair glued to my fingers...nobody said anything, I was o.k.
Gettin her hair did!
Hair finish
Next blog I will get into the tribals /costuming/armor/weapons and the finished Doll!
Thank you SO much for reading this far .. and as always ,Have a Good Night ! <3


Wednesday, July 31, 2013

Pixies and Ghosts, Oh My!!

New assignment.........WILL-O-WISP


Also referred to as 'Orbs' 'Ghost-lights' 'spook-lights'
They are looked at by both paranormal and fairy/folklore enthusiasts
These are the balls of light seen in the forest at night.
They are also said to be see in old photographs and are thought by some as spirits of visiting deceased relatives caught on film ( though scientists and disbelievers say they are merely particles of dust captured close up on the lens) 
I neither disbelieve or believe . Who's to say they don't exist....but who's to say they do..
they actually go on to say there is a scientific explanation for this occurrence.. so A-HA!! it does really happen and people have seen it!


photo credit Missouri ghosts.net


SO thats pretty much the paranormal side of it but what about the fairy side??

nothing says validation like Disney lol!

I found this and it looked really similar to the sketch I had come up with for this project

THis is my take on it... yes , this will become a doll... I will make it Happen!!...ok I hope it happens.... No! I will happen!!
OK SOo..
My client asked for a green doll ,normally she doesn't get specific but she said green
but I'm thinking not too green
SO I picked Frankie Stein
First I had to get rid of all that black hair
Frankie with only white hair

I rooted Mint Green longer strands
I started to make the blue gradient
I do this with several permanent markers.
Finished color

Normally I wash the hair to get most of the ink out ,but not this time
here's my video on how to do this


There will be more tomorrow this blog is getting long
but 
speaking of Pixies and ghost lights
Here is my little Pixie
 THanks for reading
Nighty


Monday, July 22, 2013

Mistakes... I've made a few Part 2

Note:in the lower portion of this page contains doll nudity....if you are easily offended by Doll nudity please don't venture further...

That sounded very silly.
 Now back to this....in my last blog I said I made mistakes...first mistake was
buying a wig that I thought would be perrrfect.....but
once I had it on her it looked so big and puffy
you know too Jersey Shore.
It was not going to work. So I was going to have to make a wig or reroot.
Rerooting is tedious! OMg.. so tedious!
But if you've ever worked on one of the Cam kit Monster highs you know
it could only be a partial reroot because the top of the head is a hard plastic.
SO... it's gonna have to be half reroot 
and half applied/glue.
But this way I could also add a few different shades of color.
 I started with painting the scalp.
(Most dolls have this,makes the hair look fuller)
Then the rooting and applying... it added a whole extra day to this doll
and it was I think 95 degrees that day and I was sitting under a 
Super bright light

but the results were favorable.
There are Great hair rooting tutorials on youtube
This one is from Mylittlecustoms <-----

.. And then I noticed THIS...
the paint on the legs was peeling and scraping off!!!!!!!!
UGH!... NOooooo.. make it stop!.. :(

I had used a layer of Mr. Super Clear for the base
But it wasn't working...
maybe it was the humidity?
I took a deep breath wiped the sweat off my brow
and said Lets do this again!!
this time I put a layer of Liquitex Matte Medium down
it's for non-porous surfaces to make to paint stick!

and BACK to the drawing board!
This also let me try a new technique I saw on Youtube
where you spray a light mist of water and then lay a coat of airbrush paint on top
while it's still wet.It creates the illusion of water droplets!

Meanwhile back in Modor
I had added more shading and Veins to the face and took her outside for another coat of sealer


At this point
I was pretty darn Happy with the results...
SEE, Never give up!


I wanted the legs to look murky,like she had been standing in water
for a  very Long period of time.

So what have we learned ..
  • Firstly have a plan 'B'...things might work fabulously in your head ...but in real life not so much.
  • Know your product . What works on one thing might not work on another...... So Mr. Super clear works great for the base on faces..but maybe not so much on plastics :/
  • Try again.. always try again!.........The second time might even come out better then the first!

I've never known of anyone who got congratulated for throwing 
in the towel.
And Here is the Finished piece ....Sigh of relief :)
And if you've read this far , I Thank You!

Friday, July 19, 2013

Mistakes.. I've made a few. Part 1

In a kingdom of mistakes he who holds an eraser is King!
Of you have made some customizing boo boos this blog might help you out
I've been working on this Rusalka doll. and between the Heat and my new cankles I made crazy mistakes... but I'll get to that later
Lets start from where things were going peachy keen


 This is what I was going for
Well she's undead so I picked a gray skin-tone.
First a coat of Mr. Super Clear matte
Once it's dried ( like 5-10 mins)I lay down the first of the shading
{A little note about Mr.Super Clear.As with all chemicals, PLEASE use CAUTION, Use a Mask,Use Gloves!! We really don't know what's in there. Only in a Highly ventilated area .These are Your Lungs!} 
Back to this Bog....
first shading
The key to a good repaint I believe is Layers. Like everyone else I want to jump in but there's much to be said about the art of restraint.
Pretty much how I normally start a doll
But I knew something had to be different about the eyes this time.
Rusalkas are known to NOT have pupils.. so I said 'Hey lets try something new!'
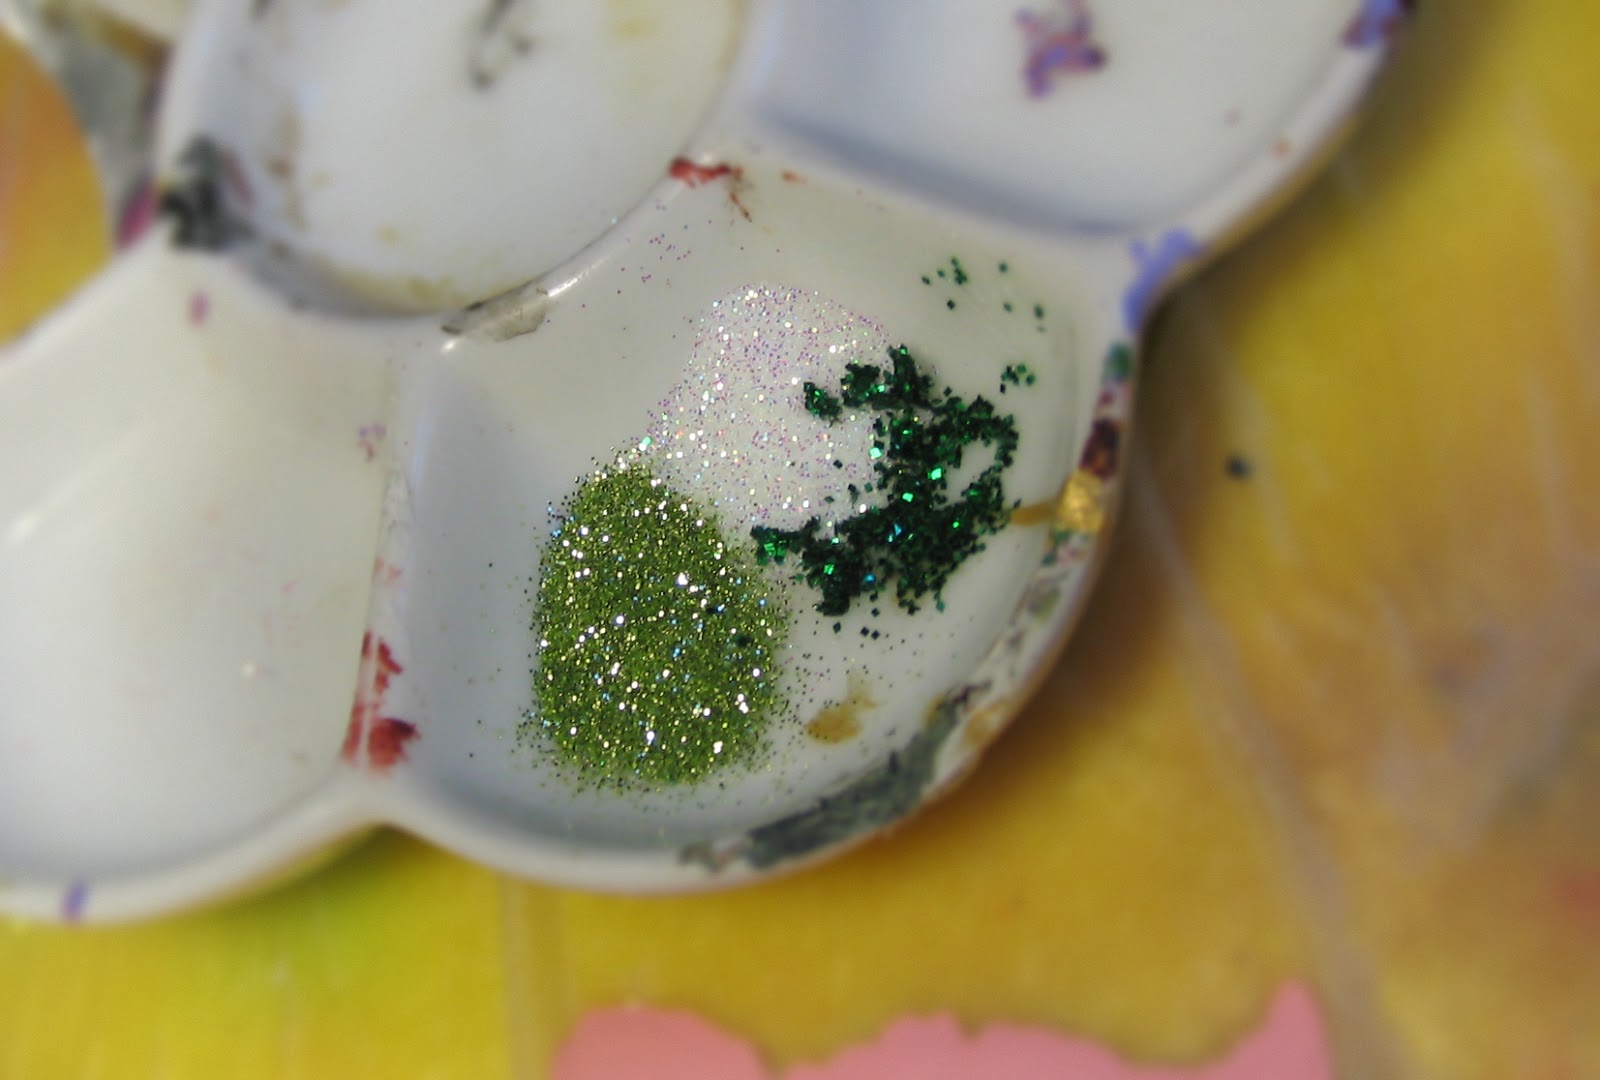
med,light,dark glitter for the eyes
I wanted the eyes to be vacant... but with a spark of something
So I used some fine milled glitter to paint with rather than .. well Paint!
before adding definition
(At first you won't see a difference , the glitter is from dark to light starting at the top.)
Around this point I did a coat of Mr. Super Clear so that all the touching I was doing was not going to rub off the base of green

Eye brows and Lips start to form
Now besides being.... Um well Dead...she has to be alluring and beautiful..so I gave her a smokey eye and Lashes.... Lonnng lashes
Lashes
I do this by glueing and embedding the lashes into the rubber... after much trial and error I always do it this way now.. and once it's done it's Not budging! No sir!
You can make lashes out of any hair you chose.. they don't actually have to be false lashes ( for humans)
End of part one
Cankles!! on Tumblr
--------------------------------------------------------------------